Understanding the Importance of High-Quality Home Photography
In the competitive real estate market, compelling visual representation of a property can significantly influence buying decisions. High-quality home photography serves as a vital marketing tool, enabling listings to stand out in a saturated marketplace. Well-executed images not only showcase the property’s features and architectural details but also evoke an emotional response that encourages potential buyers to schedule viewings.
Professional photography translates into more than just capturing rooms; it involves strategic composition, optimal lighting, and precise editing to present each space in its best light. When property images are clear, vibrant, and accurately depict the home, they attract more interest, generate higher online engagement, and often lead to quicker sales transactions.

Accurate, visually appealing images help set realistic expectations and reduce unnecessary visits, making the sales process more efficient for both sellers and buyers. Additionally, professional photographs contribute to a consistent brand image for real estate agencies and individual photographers, building trust and credibility within the market.
In today’s digital-first environment, the visual presentation of homes has become a key factor in successful marketing strategies. As buyers increasingly rely on online resources to view properties, investing in professional home photography ensures listings make a lasting impression and facilitate informed decision-making.
Camera Equipment and Settings for Home Photography
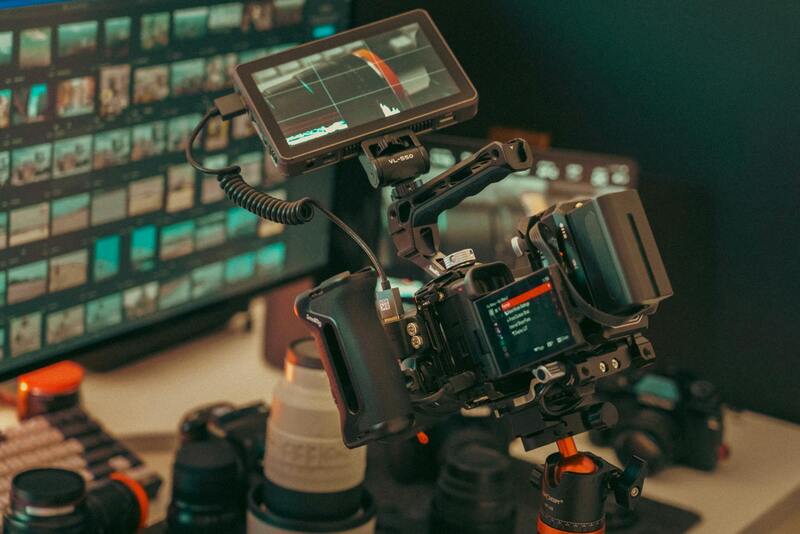
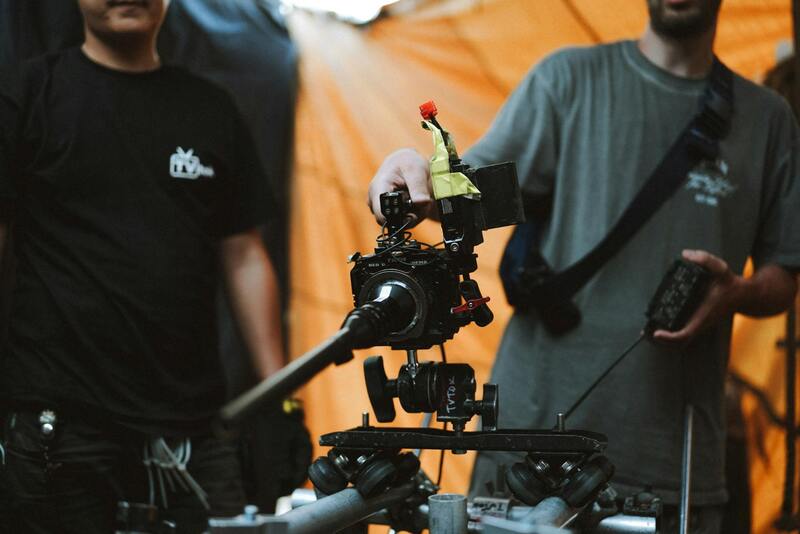
Achieving professional-grade images of residential properties requires more than just an excellent eye for composition; the right camera equipment and optimal settings play a vital role in capturing clear, vibrant, and detailed photographs. When selecting gear for photographing homes, professionals typically prefer full-frame digital cameras that excel in low-light conditions and provide high dynamic range, allowing for a more accurate representation of the property's ambiance and lighting variability.
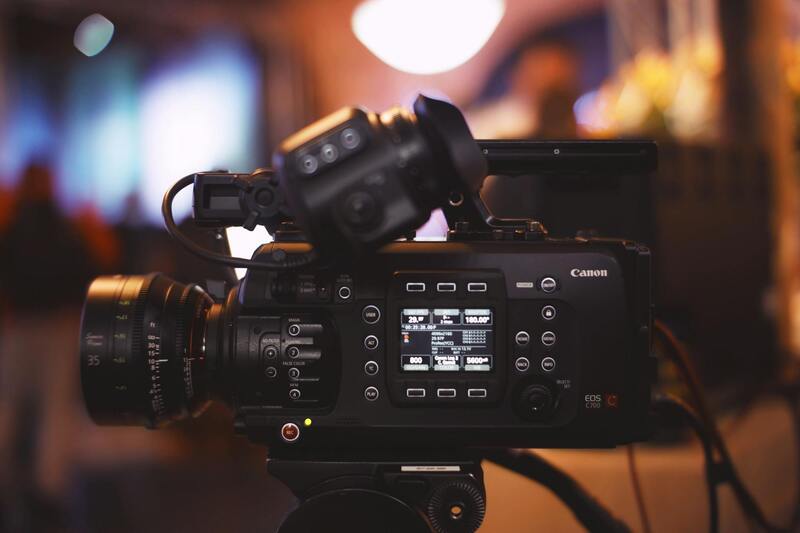
Key camera features to consider include:
- Resolution: Higher resolution sensors ensure that images remain sharp and detailed, even when zoomed in or printed in large formats.
- Lenses: Wide-angle lenses (14mm to 24mm) are standard for interiors, as they capture more of the space in a single shot, minimizing distortions and making rooms appear more spacious. Tilt-shift lenses can be used to correct perspective distortions, especially in rooms with high ceilings or complex architectural details.
- Image Stabilization: Helps reduce motion blur in handheld shots, particularly in dimly lit environments.
Adjusting camera settings is equally essential to optimize image quality:
- Aperture: Using a smaller aperture (higher f-number) increases depth of field, ensuring most of the room is in focus. Typical settings range from f/8 to f/11 for interior photography.
- ISO: Keep ISO as low as possible (ISO 100-400) to minimize noise and graininess, especially in well-lit spaces.
- Shutter Speed: Set to properly expose the scene, often requiring longer exposures in low-light situations. Using a tripod allows for slower shutter speeds without introducing blur.
- White Balance: Adjust to match lighting conditions—daylight, tungsten, or custom—to ensure color accuracy across images.
Utilizing various shooting modes, such as manual mode, grants greater control over exposure and allows for precise adjustments tailored to each space. Additionally, shooting in RAW format provides greater flexibility during post-processing, ensuring that colors and details can be accurately adjusted without degrading image quality.
Mastering the essential camera equipment and settings lays the foundation for compelling home photography. When paired with proper composition, lighting, and post-processing techniques, these tools help produce images that not only showcase the property's features effectively but also resonate emotionally with prospective buyers, ultimately driving more interest and faster sales.
Techniques for Shooting Different Areas of a Home
Achieving stunning images of various sections within a home requires tailored approaches that highlight each space's unique features. Different areas, such as spacious living rooms, cozy bedrooms, kitchens, bathrooms, and outdoor areas, demand specific techniques to ensure the best possible presentation.
- Living Rooms and Open Spaces: Utilize wide-angle lenses to capture the room's breadth without distortion. Position yourself at a slight angle, ideally near a window to incorporate natural light, and ensure furniture and décor are arranged neatly to create an inviting atmosphere. Incorporating multiple shots from different angles can help convey the room's scale and flow.
- Bedrooms: Aim for a warm and peaceful tone by emphasizing natural light and soft interior lighting. Focus on key features such as a bed, closet, or unique architectural details. Use a tripod to enable longer exposures if necessary, especially in low-light conditions, to retain detail and clarity.
- Kitchens: Highlight functionality and modern features by capturing each focal point—counters, islands, appliances, and cabinetry. Use multiple exposures to balance bright countertops with ambient lighting. Including shots with open cabinets or drawers can give a comprehensive view of storage solutions.
- Bathrooms: Keep the space clutter-free and well-lit, emphasizing cleanliness and space. Use macro or close-up shots to showcase fixtures and design details, while wide shots can convey the overall layout. Proper lighting setup prevents reflections on mirrors and fixtures that may compromise image clarity.
- Outdoor Areas: Shooting during golden hour (early morning or late afternoon) enhances natural light and shadows. Capture both wide shots of the yard or patio and close-ups of landscaping features. Including outdoor furniture, lighting features, or scenic views helps illustrate the property's exterior appeal.
Each space benefits from strategic composition, consistent lighting, and attention to small details. Integrating these techniques ensures the home is presented in the most attractive and accurate light, ultimately enticing potential buyers or renters. Using different perspectives, precise framing, and proper equipment allows for visual storytelling that highlights the home's best attributes.

Choosing the Right Camera and Settings for Each Space
Successfully capturing the unique features of a home requires selecting appropriate camera equipment and settings tailored to each room's lighting conditions and architectural features. A professional DSLR or mirrorless camera with interchangeable lenses provides optimal control and image quality. Wide-angle lenses, typically 14-24mm for full-frame cameras, allow for capturing larger spaces in a single shot, emphasizing spaciousness in living rooms, bedrooms, and outdoor areas.
For rooms with varying light conditions, manually adjusting camera settings ensures balanced exposure. Use a low ISO setting (100-400) to minimize noise, especially in well-lit areas, and a narrow aperture (f/8 to f/11) to achieve maximum depth of field, keeping foreground and background sharp. In dimly lit environments such as bathrooms or interiors with subdued natural light, a tripod becomes essential to stabilize the camera during longer exposures. This technique helps in capturing details and maintaining clarity without motion blur.
Adjust white balance settings based on indoor lighting—tungsten, daylight, or custom—to render true-to-life colors. For exterior shots during different times of the day, particularly during golden hour, adjusting settings to harness natural light enhances the overall aesthetic. Bracketing exposures can also be useful to combine multiple images into high-dynamic-range (HDR) photos, effectively capturing a wide brightness range often found in homes with large windows or contrasting lighting conditions.
Understanding and Utilizing Lighting in Home Photography
Lighting plays a crucial role in how a home appears in photographs. Natural light emphasizes spaciousness, warmth, and inviting atmosphere, while artificial lighting can be adjusted to highlight specific features or correct shadows. Properly balanced lighting ensures all details are visible and the home's ambiance is accurately conveyed.
For daylight shots, opening curtains and blinds maximizes natural illumination. When shooting indoors, supplement ambient light with portable flash units or continuous LED lighting, diffused through softboxes to soften shadows. Avoid harsh direct lighting that causes strong shadows or reflections. Instead, aim for even light distribution, which accentuates architectural details and interior finishes positively.

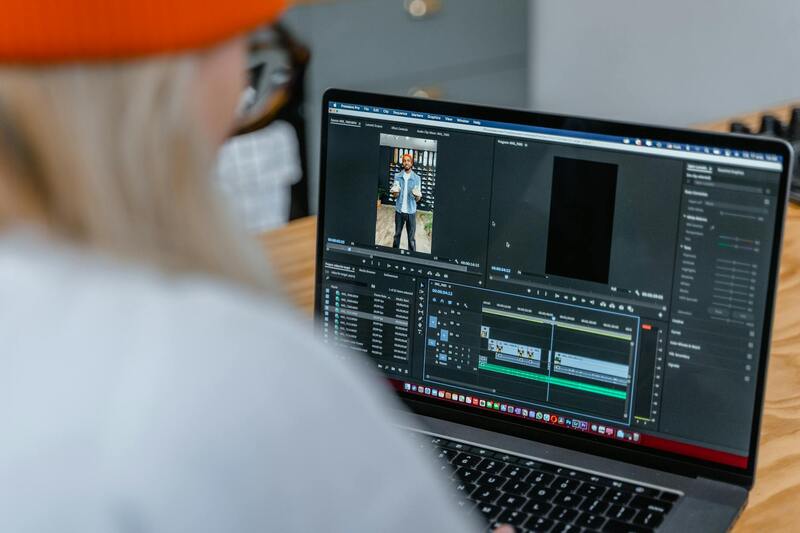
Post-Processing Techniques to Enhance Home Photos
- Color Correction: Adjust white balance and saturation to ensure colors appear natural and vibrant. Correct any color casts resulting from artificial lighting or mixed sources.
- Exposure and Contrast: Fine-tune brightness and contrast to highlight architectural details without losing shadow or highlight details.
- Straightening and Cropping: Align images properly with horizontal and vertical lines to prevent distortion. Crop images to remove distracting elements and focus on key areas.
- HDR and Stitching: Combine multiple exposures to reveal details in both shadows and highlights, especially in high-contrast scenes like interiors with windows.
- Retouching: Minimize imperfections such as clutter, reflections, or minor blemishes to present a polished look.
Professional editing enhances initial captures, ensuring the images are compelling and accurately represent the property’s potential.
Techniques for Shooting Different Areas of a Home
Achieving stunning results in photographing homes requires employing specific techniques tailored to various spaces within the property. Each area, from expansive living rooms to cozy bedrooms, demands attention to detail in composition, lighting, and perspective to truly showcase its features and ambiance.
Capturing Living and Common Areas
The primary living spaces often serve as the home's centerpiece, making their professional portrayal crucial. To maximize their appeal, use a wide-angle lens to capture the full scope of open-plan areas. Position the camera at eye level, around 3 to 4 feet from the ground, to create an inviting perspective that draws viewers into the space. For brighter, more balanced images, utilize natural light by opening curtains and blinds, complemented by supplementary lighting if needed. When shooting in artificially lit rooms, adjust your camera's white balance to match the lighting conditions, preventing color casts that might distort the interior's warmth and vibrancy.
Creating Depth and Dimension
In smaller rooms or areas with tight spaces, incorporating foreground elements can add depth to images, making the rooms appear larger and more engaging. Use a slightly narrower aperture to keep more of the scene in focus, preserving details from foreground to background. Paying attention to angles—shooting slightly from above or from a corner—can also enhance the perception of space. It's vital to ensure the lines of walls, ceilings, and floors are straight by adjusting camera alignment, preventing distorted perspectives that reduce clarity.

Photographing Bedrooms
Bedrooms, often viewed as retreats, benefit from a cozy and tranquil depiction. Use soft, diffused lighting to create a relaxed atmosphere. Natural light from windows should be maximized, but avoid harsh direct sunlight which can cause overexposure or create strong shadows. Position the camera to capture the bed as the focal point, ensuring the headboard and surrounding furniture are included to convey comfort and style. Incorporate subtle details such as bedside lamps or decorative accents, which add personality to the image.
Showcasing Closets and Storage Spaces
Closets and built-in storage areas should be shot with an emphasis on organization and capacity. Use a clean, uncluttered approach, ensuring all items are neatly arranged. A wide-angle lens can help encompass the entire space in a single frame, demonstrating functionality. Good lighting is essential—consider supplementary lighting if natural light is limited—so the space appears open and inviting. Highlighting features such as shelving or custom finishes can elevate the perceived value of the property.
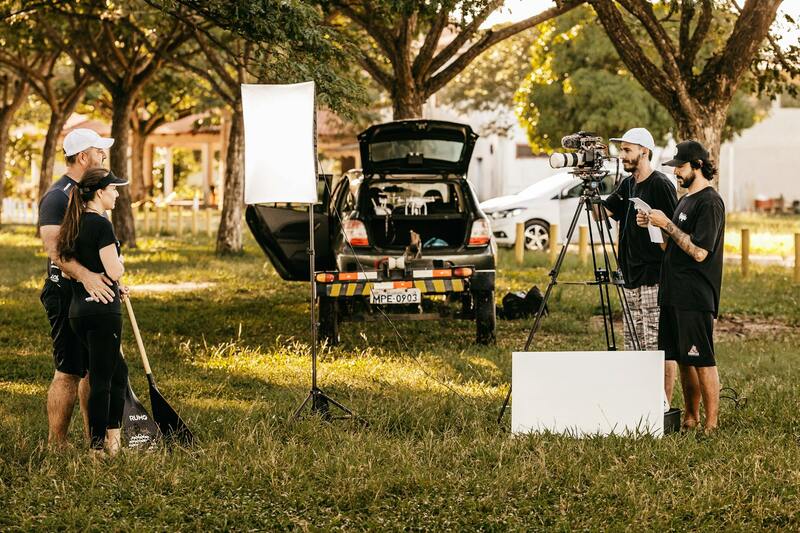
Highlighting Outdoor and Exterior Spaces
Exterior shots should be taken during the golden hour—the period shortly after sunrise or before sunset—when natural light imparts warmth and softness to images. Use a tripod for stability to achieve sharpness in lower light conditions and to maintain consistent framing. Show pathways, landscaping, and outdoor amenities that enhance curb appeal. Incorporate elements like outdoor furniture or decorative lighting to evoke lifestyle possibilities and create a welcoming impression.
Between interior and exterior photography, maintaining perspective consistency helps potential buyers visualize the flow from indoor living spaces to outdoor environments. Advanced techniques, such as HDR imaging or panoramic stitching, can be used to present expansive views or complex outdoor layouts accurately.
Techniques for Shooting Different Areas of a Home
To effectively showcase the unique features of each interior space, employ tailored photography techniques suited to different areas within the home. Living rooms, bedrooms, kitchens, bathrooms, and outdoor spaces each have distinct characteristics that benefit from specialized approaches to lighting, composition, and perspective.
Living Rooms and Common Areas
These spaces serve as the heart of a home, making their presentation critical. Use wide-angle lenses to capture the full scope of the room, highlighting proportional relationships and spatial flow. Position the camera at approximately eye level to provide a natural perspective. When photographing living rooms, ensure the focal points—such as a fireplace, entertainment center, or unique architectural features—are prominently displayed. Incorporate natural light from windows to add warmth, supplemented by ambient lighting to eliminate shadows, ensuring an inviting atmosphere.
Bedrooms
For bedrooms, aim to create a cozy, tranquil feel. Use natural light where possible, diffused through sheer curtains to soften shadows. Capture multiple angles, including wide shots of the entire room and close-ups of design details like headboards or decorative accents. Neatly arrange furniture and remove personal clutter to present a clean, welcoming environment. Pay attention to bedding, lighting fixtures, and color schemes to enhance the room’s calming atmosphere.
Kitchens
Kitchens should be photographed with an emphasis on functionality and modern amenities. Use a combination of wide-angle shots to showcase layout and macro techniques to highlight appliances or unique finishes. Ensure countertops are tidy, and all personal items are removed from view. Lighting should be bright and even, with natural light augmented by additional sources if necessary. Shooting from multiple angles—including over countertops and at eye level—helps potential buyers understand the space and visualize their activities there.
Bathrooms
The bathroom’s appeal hinges on cleanliness and fresh appearance. Focus on fixtures, tiles, and design details that demonstrate quality and comfort. Use natural light complemented by additional artificial lighting to highlight shiny surfaces and create a sense of space. Capture close-up shots of features like bathtubs, sinks, or decorative tilework, ensuring reflections do not distract from the subject. Proper staging, such as neatly arranged towels and minimal personal items, enhances visual appeal.
Outdoor and Exterior Spaces
Exterior photographs should showcase the home’s curb appeal and outdoor living areas. During the golden hour, position yourself to capture soft, warm light that enhances landscape features. Use a tripod for stability, especially when lighting conditions demand longer exposures. Incorporate elements such as outdoor furniture, gardens, patios, or pools to suggest lifestyle possibilities. Maintain consistent perspective to create a seamless visual flow from interior to exterior, helping viewers imagine themselves moving through the space. Advanced techniques like HDR imaging and panoramic stitching can provide expansive views of large outdoor areas or complex landscaping features.
Effective Composition Techniques for Home Photography
When photographing homes, composition plays a pivotal role in highlighting the property’s best features and creating an inviting atmosphere. Proper framing, balanced elements, and strategic use of space can enhance the visual storytelling of each room. Utilizing the rule of thirds helps position key features such as fireplaces, windows, or architectural details within the frame, guiding the viewer's eye naturally through the image.
Leading lines, such as hallways, staircases, or architectural moldings, draw attention toward focal points and provide depth to the photograph. Incorporating foreground elements can add layers and dimension, making images more engaging. It’s essential to keep the horizon straight and avoid tilting the camera unless intentionally stylistic. Emphasizing symmetry in rooms like living areas or kitchens can evoke a sense of order and harmony that resonates with potential buyers.
Additionally, clutter-free spaces improve composition by allowing the architectural features and design elements to stand out. Carefully arranging furniture and decorative items, or capturing rooms from specific angles that minimize distractions, results in clearer, more compelling visuals. Consistency in framing across different rooms maintains a cohesive aesthetic, which is vital for online galleries and marketing materials.
Maximizing Natural Light for Stunning Home Photos
Lighting significantly influences the quality and mood of home images. Natural light, when harnessed effectively, produces bright, inviting photographs that accurately represent the space. To maximize natural illumination, schedule shoots during daylight hours, ideally in the early morning or late afternoon when sunlight casts a warm, soft glow.
Open curtains and blinds to flood rooms with daylight, and consider removing heavy drapes that obstruct light flow. For rooms with limited windows, reflectors or white surfaces are useful to bounce light into shadowed areas, creating a balanced exposure. Windows should be cleaned and free of clutter to prevent distracting reflections or obstructions.
In combining natural light with artificial lighting, use soft, diffuse light sources such as LED panels or softboxes to fill in shadows, especially in areas where sunlight may fall unevenly. Balancing the light ensures the interior appears naturally bright and welcoming, without harsh glares or overly dark corners. Adjust camera settings—such as ISO, aperture, and shutter speed—to optimize exposure for the available light conditions.

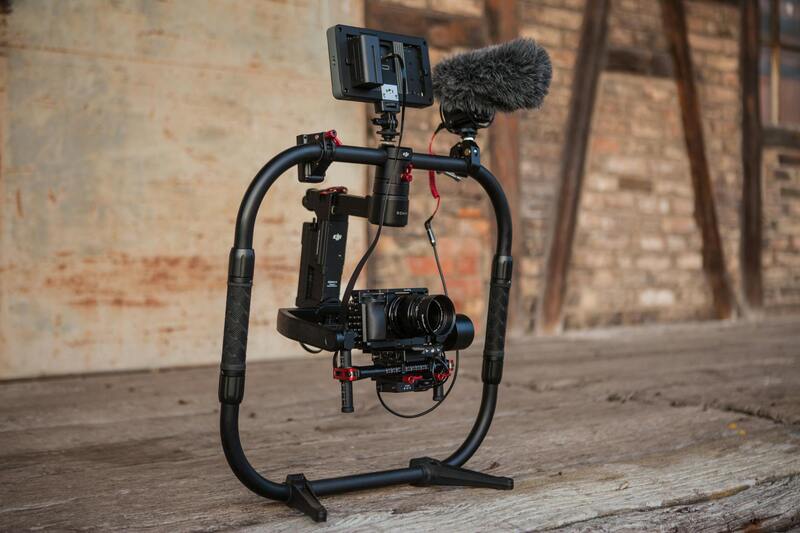
Utilizing Advanced Techniques for Exterior and Outdoor Shots
Exterior photography benefits from specialized techniques that enhance curb appeal and outdoor living areas. The golden hour, shortly after sunrise or before sunset, provides a warm, diffused light that softens shadows and highlights landscape features beautifully. During this time, you can achieve vibrant, inviting images that draw potential buyers in.
Stability is crucial when capturing expansive outdoor scenes; use a tripod to avoid camera shake during longer exposures required in lower light conditions. When photographing large outdoor spaces such as gardens, patios, or pools, employ panoramic stitching to create seamless, wide-angle views that convey the full scope of the area.
High Dynamic Range (HDR) imaging combines multiple exposures to balance bright and dark areas, ensuring details are visible in both shadowed corners and sunlit sections. Properly illustrating outdoor textures, elevations, and landscaping elements helps viewers visualize the home’s exterior environment and potential lifestyle benefits.
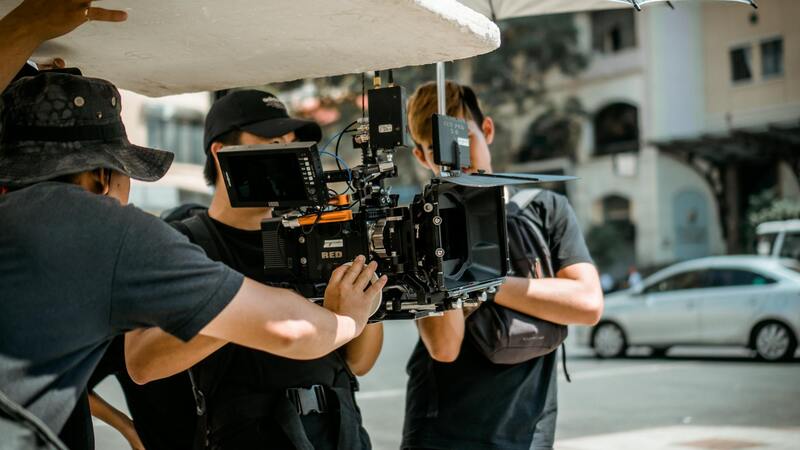
Advanced Techniques for Capturing High-Quality Home Photographs
Maximizing the visual appeal of a property through professional home photography involves diligent application of advanced techniques that transcend basic shooting methods. These techniques are essential to produce images that truly showcase a home's best features, from architectural details to inviting outdoor spaces.
Utilizing Panoramic and Stitching Techniques
For expansive living areas, outdoor patios, or backyard gardens, panoramic shots offer a comprehensive view that captures the full scope of the space. Employing a tripod ensures stability during multi-shot captures, preventing shifting between images. Post-processing stitching software seamlessly combines these shots into a single wide-angle image, creating an immersive experience for potential buyers or viewers. Accurate alignment and consistent exposure across frames are critical to achieving a natural-looking panorama without distortions.
Implementing High Dynamic Range (HDR) Photography
HDR imaging is particularly effective in environments with complex lighting contrasts, such as rooms with large windows or mixed interior and exterior lighting. This technique involves capturing multiple images at different exposures and combining them to produce a balanced photo with preserved detail in both shadows and highlights. Properly executed HDR avoids an overly processed look, maintaining realistic colors and textures that convey the true ambiance of each space.
Mastering Interior Composition and Perspective
Strategic camera placement and thoughtful composition play a vital role in creating compelling images. Use wide-angle lenses to maximize space perception, but be cautious of distortion which can misrepresent a room’s true size. Shooting from a corner position often provides depth, showcasing multiple facets of the space simultaneously. Positioning furniture and decor within the frame to highlight flow and functionality enhances the viewer's understanding of the home's layout and usability.
Advanced Exterior Photography and Landscaping Details
Exterior shots should employ techniques like HDR and panoramic stitching to fully convey the property's scope. The use of natural lighting, especially during the golden hour, accentuates textures, colors, and landscaping features. Incorporating foreground interest, such as plants or decorative elements, adds depth and context to outdoor images, making the property more appealing.
Efficient Post-Processing for Professional Presentation
Post-processing is a critical step to refine and enhance home photographs. Adjustments to brightness, contrast, and color balance ensure accurate and inviting images. Removing distracting elements or minor imperfections maintains focus on key features. Correcting distortion, straightening lines, and cropping images to optimal framing help produce polished visuals aligned with the property’s marketing goals. Calibration of colors and sharpness further enhances realism and visual appeal.
Documenting Unique Features and Details
Highlight specific architectural features, custom finishes, or upgrades that set the property apart. Close-up shots of high-end hardware, intricate moldings, or scenic outdoor views provide potential buyers with an immersive understanding of the home's quality and character. These details often serve as focal points in marketing materials, making the property memorable and desirable.